On zoom mobile app virtual backgrounds are a great feature that allows the users to change your background during video calls. This can be used to provide a professional look to your business calls. The backgrounds are very easy to set up and can be used in a variety of settings. These virtual backgrounds allow the users to change the background during a video call. You can personalise your environment, hide any distractions in the background, and make the call look more professional. We will provide you with a step-by-step guide on how to use a virtual background on the Zoom mobile app.
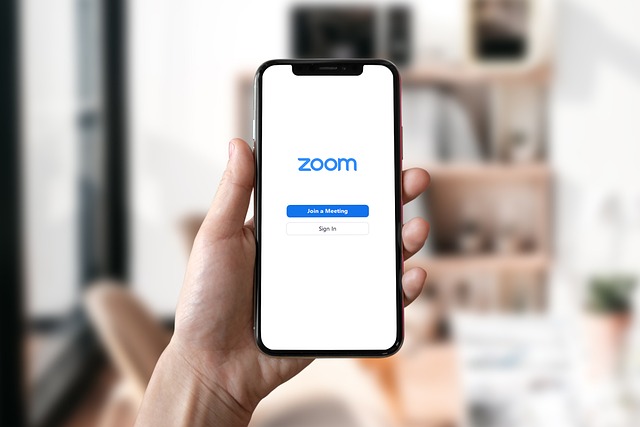
- First and foremost, we need to activate the Zoom mobile app. Once the app is activated, you have to create an account and sign in. You can activate the app either through the App Store on your iPhone or through the Play Store on your Android device. You can even activate this app on your tablet, desktop, or laptop. After that, you need to create an account. For creating an account, you need an email ID or a phone number, which will ask for identification or to join a meeting.
- After creating an account, sign into your account. Then you can join or start a Zoom meeting. Tap the screen to reveal the menu options. For signing into an account on Zoom, you need to have an email ID. If you don’t have an email ID, you will have to create one. For that, you will have to go to Gmail and then click on “Sign Up.” Fill in all the details like name, age, phone number, etc., and if everything is correct, you will be assigned an email ID. With that email ID, you can sign up for Zoom. Even if you don’t have an email address, nothing to worry about; you can sign up with a Google account as well.
- You will find three dots at the bottom right corner to open more menus. Tap on virtual background and select one of the pre-existing virtual backgrounds, or you can customise and upload your own background. On the Zoom app, there are several virtual backgrounds that suit your preferences and convenience. Some of the backgrounds are so professional and beautiful. Choose from one of the pre-existing backgrounds and set the background. If you don’t want the pre-existing background, no worries; you can customise and set your own background. That also looks professional and lovely. It’s advisable not to have a live background on Zoom because, for professional meetings, it really doesn’t look good. All those who are passing in the background will be sent by the person on the other end. In order to hide that disturbance, it’s always advisable to use the pre-existing background on zoom or customise the background according to your taste and preferences.
- If you choose to upload your own background, select the image from your photo library, and it will become your virtual background. What we mean by “customising background” is that either we download an image from Google and upload it as a background to our Zoom app, or else we can also go to our photo library and set a picture from there as our virtual background. These days, having a virtual background has become all the more important for our professional or personal meetings to give them a more aesthetic look. You can choose the background from the pre-loaded virtual backgrounds, or you can set your own background.
- You can also have a preview of the background, and you can adjust it by pinning the screen to zoom in and out. It also becomes important to preview the virtual background that you have set. So it’s always advisable that after you have set the virtual background, either from the pre-loaded virtual background or by customising and setting your own background, you always try to preview it so that you will get a vague idea of how it looks. If it is too gaudy for a professional meeting or if it doesn’t suit the time of day you are going to have the meeting, then you can change the virtual background. In this way, you can keep previewing the different virtual backgrounds to see which one suits you best.
- After previewing the different virtual backgrounds, when you are convinced and satisfied that this is the best virtual background, tap on “Close” to save the new background that you have chosen. If you don’t save the new background, then only the old background will be reflected. So it’s always good that once you have chosen the appropriate background, don’t forget to set it and finish the setting by closing on the new background.
- By closing on the new background, you are all set to join a meeting on time. Again, before going to the meeting, check your virtual background once again. It’s always advisable not to join the meeting on time; it’s good to join the meeting at least 10 minutes earlier because if there are any technical difficulties, you have time to rectify them before the meeting can start. If you just join the meeting on time and if any technical glitches arise, you won’t have time to rectify them, or else you will be cutting a sorry figure by telling the guest to kindly bear it while you carry out the repairs and set things right.
Another important thing to keep in mind is that all mobile devices and laptops don’t support virtual backgrounds. Hence, instead of wasting time, check these settings as well. Just to make you aware that some Mac devices don’t support virtual backgrounds. Instead, you are left with no option but to go with whatever virtual background is provided, or you will have to go with a live background. So please check on all these in the mobile app settings before going ahead and wasting time. In addition to all that has been discussed, see that you are sitting in a place while attending a professional meeting that has sufficient lighting. Another minute detail that you need to keep in mind is that it also keeps the virtual background in contrast with your clothing and the ambience of the room. If your clothing colour and the virtual background colour are dark, then it will not give a nice look. Keep both of them in contrast with each other. Hence, the virtual backgrounds on the Zoom mobile app can be a great way to add that extra personality to your video call while maintaining privacy and professionalism at the same time.